|
1) Assign to staff automatically
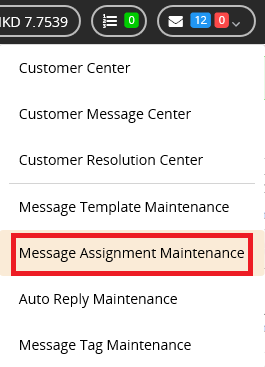
Go to Customer Management Icon > Message Assignment Maintenance
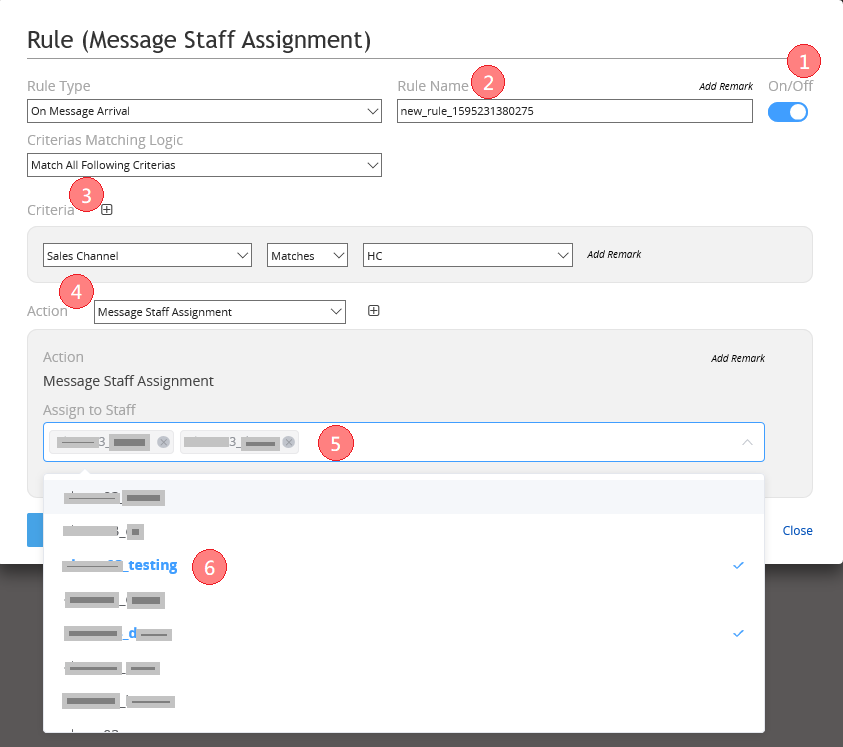
Operation instructions:
- On/Off: Blue is On, grey is Off. When creating the new rule, the switch default value is "Off", the user should turn on manually.
- Rule Name: The user can customize the rule name
- Criteria: The user can specify the conditions of the rule execution, so that the execution of the rule will be triggered only when certain conditions are met .
eg: When the <Sales Channel> of the received platform message is <Match> with account name <HC>, the system performs the operation
- Action: The user can specify the action content of rule execution
eg: When receiving a platform message that complies with the rules, the message is < Assign the following staff sub-accounts as the person in charge of processing messages >
- Assign to Staff: Click to choose the staff sub-account to be added. It can add more than one person.
- Select staff sub-account: Click to choose the staff sub-account . You can click it again to cancel the choice
2) Reply to messages automatically
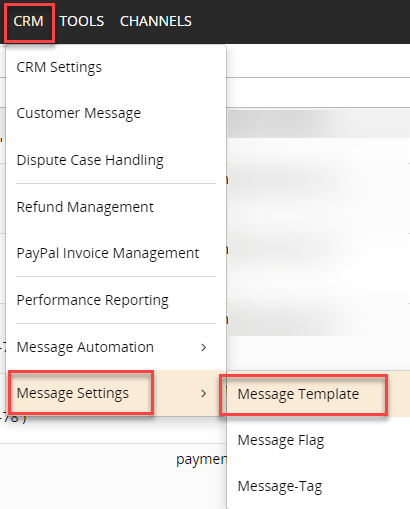
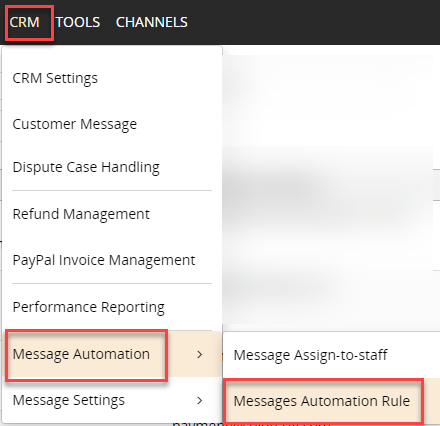
Go to CRM > Message Automation > Messages Automation Rule
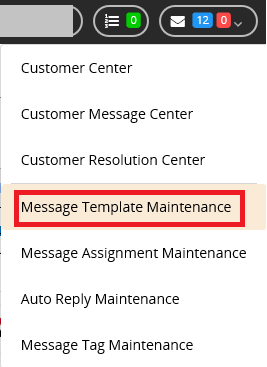
Or you can also go to Customer Management Icon > Auto Reply Maintenance
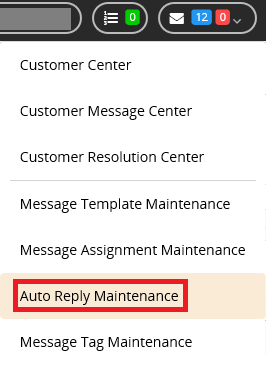
You can view existing message reply rules

Or create new rules
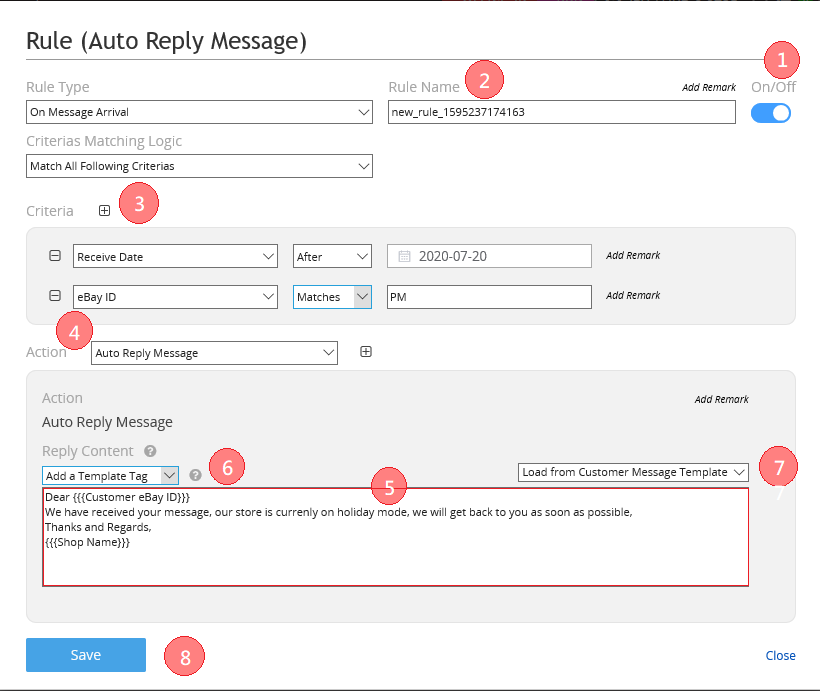
Operation Instructions:
- On/Off: Blue is On, grey is Off. When creating the new rule, the switch default value is "Off", the user should turn on manually.
- Rule Name: The user can customize the rule name
- Criteria: The user can specify the conditions of the rule execution, so that the execution of the rule will be triggered only when certain conditions are met .
eg: When the <Receive Date> of receiving platform message is <After> the date <2020-7-20>, and the message <eBay ID> is <match> with account name<PM>, the system performs the operation
- Action: The user can specify the action content of rule execution
eg: When receiving a platform message that complies with the rules, the system uses the content in the input box below to reply automatically.
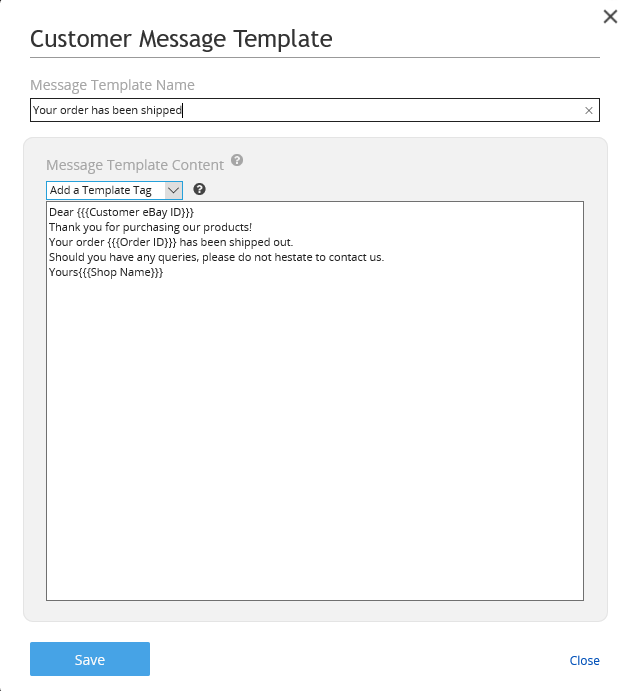
- Reply Content: The text used for auto-reply
- Add a Template Tag: The user can quote their store name, buyer's eBay account name, order ID or other information. The quoted content will appear as a three-layer curly bracket format.
- Load from Customer Message Template: Click to select the pre-saved template in <Message Template Setting>. You can modify it after the selection.
- Save: Click it to save the rule
|